


Binding a quilt seems hard but it’s actually pretty easy. My method requires some hand sewing but I think it creates a more finished look.
These instructions assume that you have already quilted together your layers of quilt top, quilt back and batting. I also assume that your quilt top is squared and that you’ve left 1/4″ seam allowance around all edges of the top.
Start by cutting 2 1/2″ strips of your binding fabric. Cutting on the bias will make a more durable binding. But if your quilt is decorative you can get away with cutting along the straight edge.
Sew your strips end to end until you have enough to cover entire perimeter of your quilt plus a few extra inches. Fold your strip in half the long way with wrong sides together and iron to create a crease. On one end (the “starting end) fold under about 1” of fabric the short way and iron to create a crease. This folded edge will be visible so you want to hide the rough edge of the fabric.
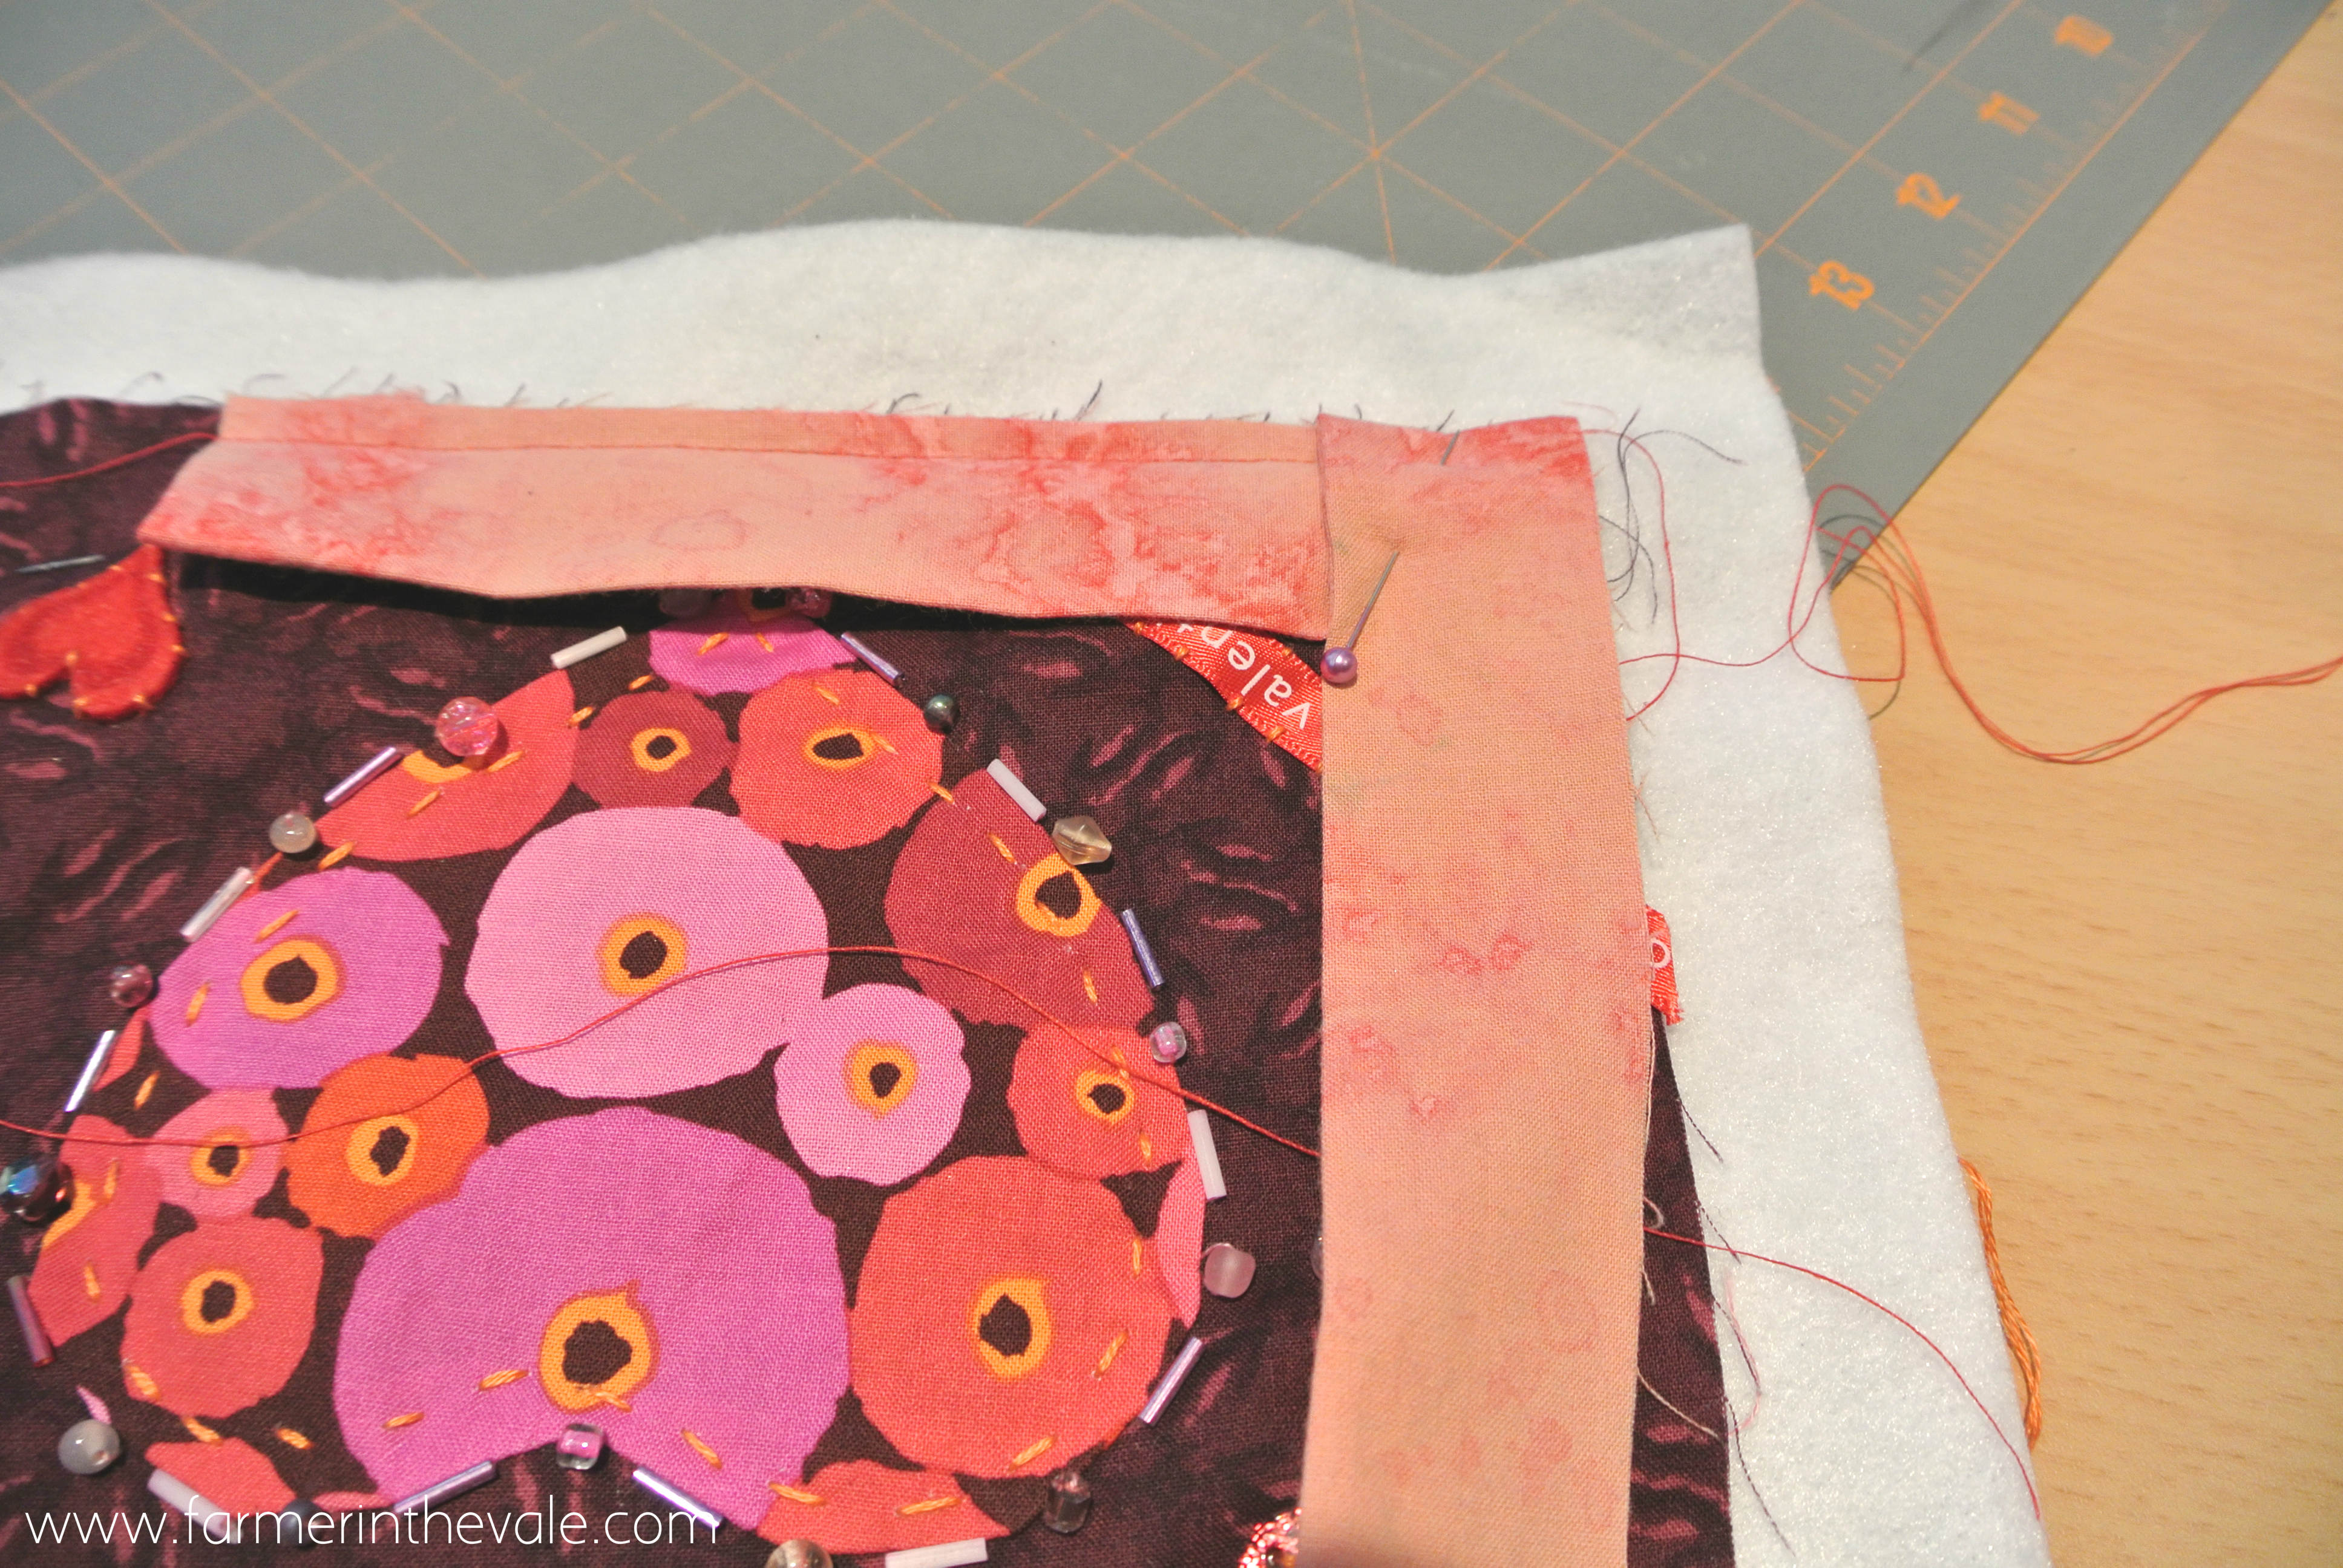
Line up the rough edge of your strip with the rough edge of your quilt top. Pick a point that’s not too close to the corner for your starting point. You don’t need to pin anything (yet), just keep lining up the strip with the top edge as you sew.
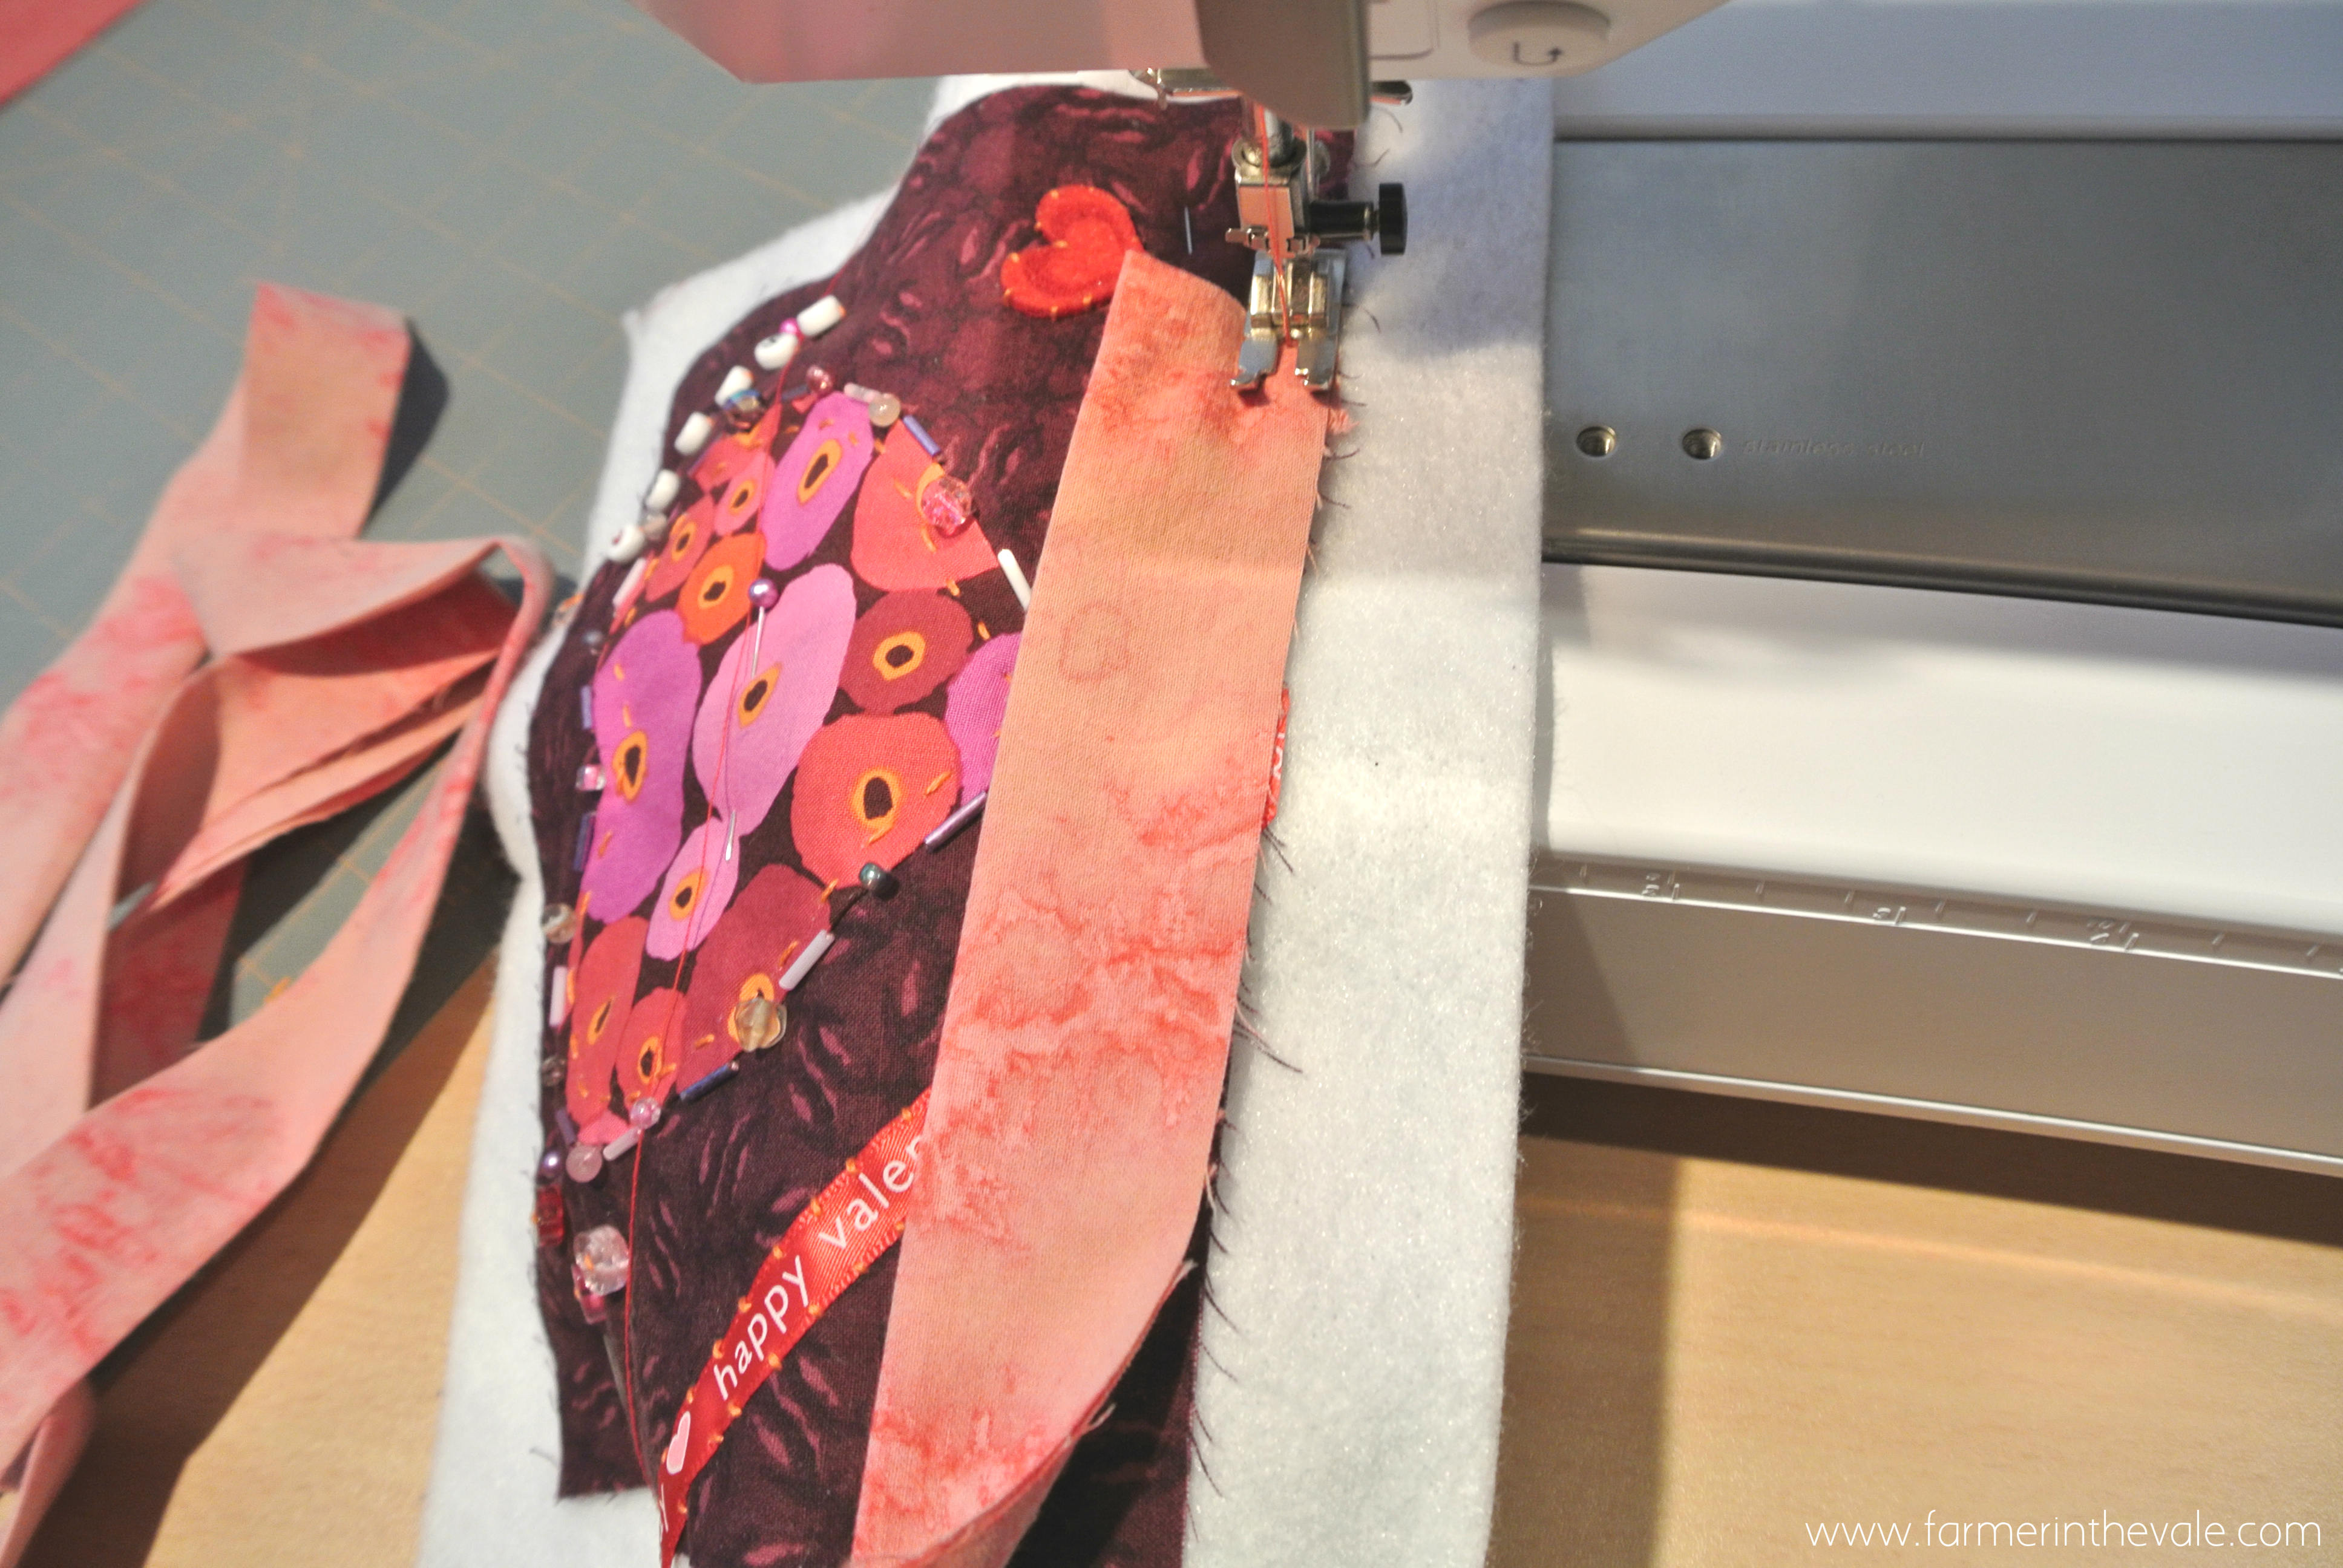
Sew the strip to the quilt with a 1/4″ seam. Stop (with needle down) when you get close to the corner. You don’t want to sew all the way to the edge, instead you want to stop 1/4″ before the end of the quilt. I use a pin to mark my stopping point once I get close to the corner.
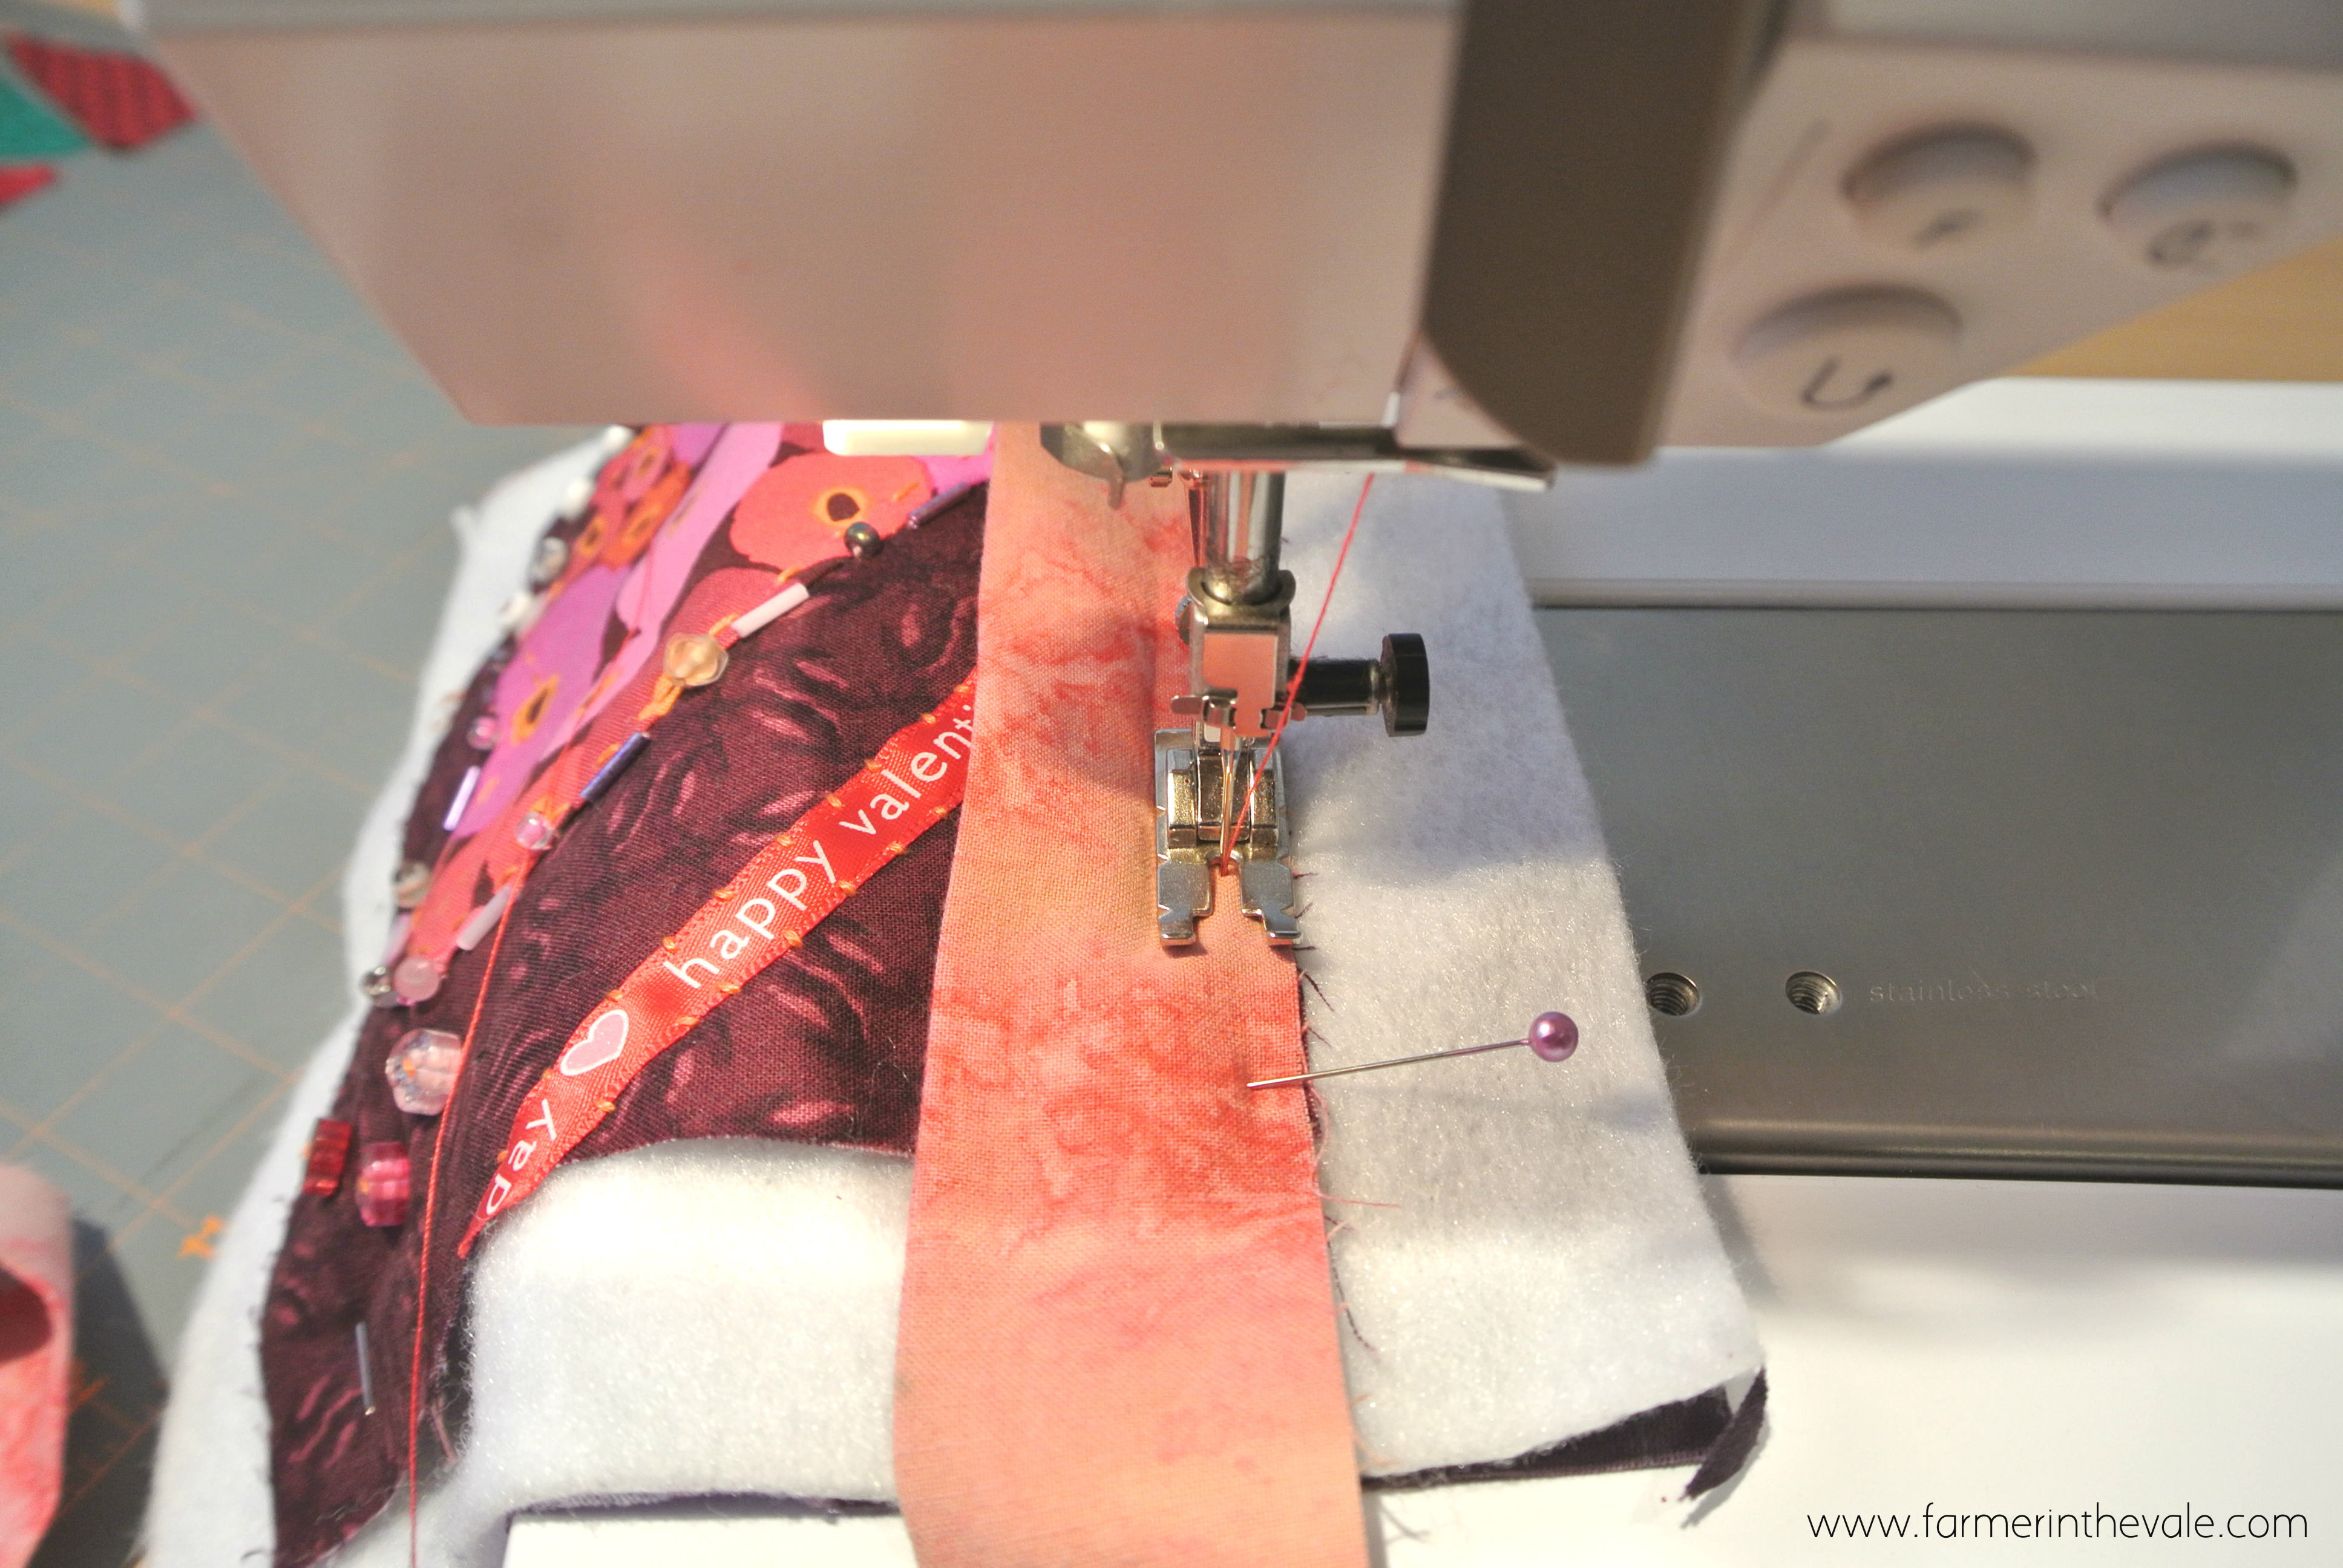
Sew to the point 1/4″ from the edge. Sew backward and forward a few stitches to lock the seam.
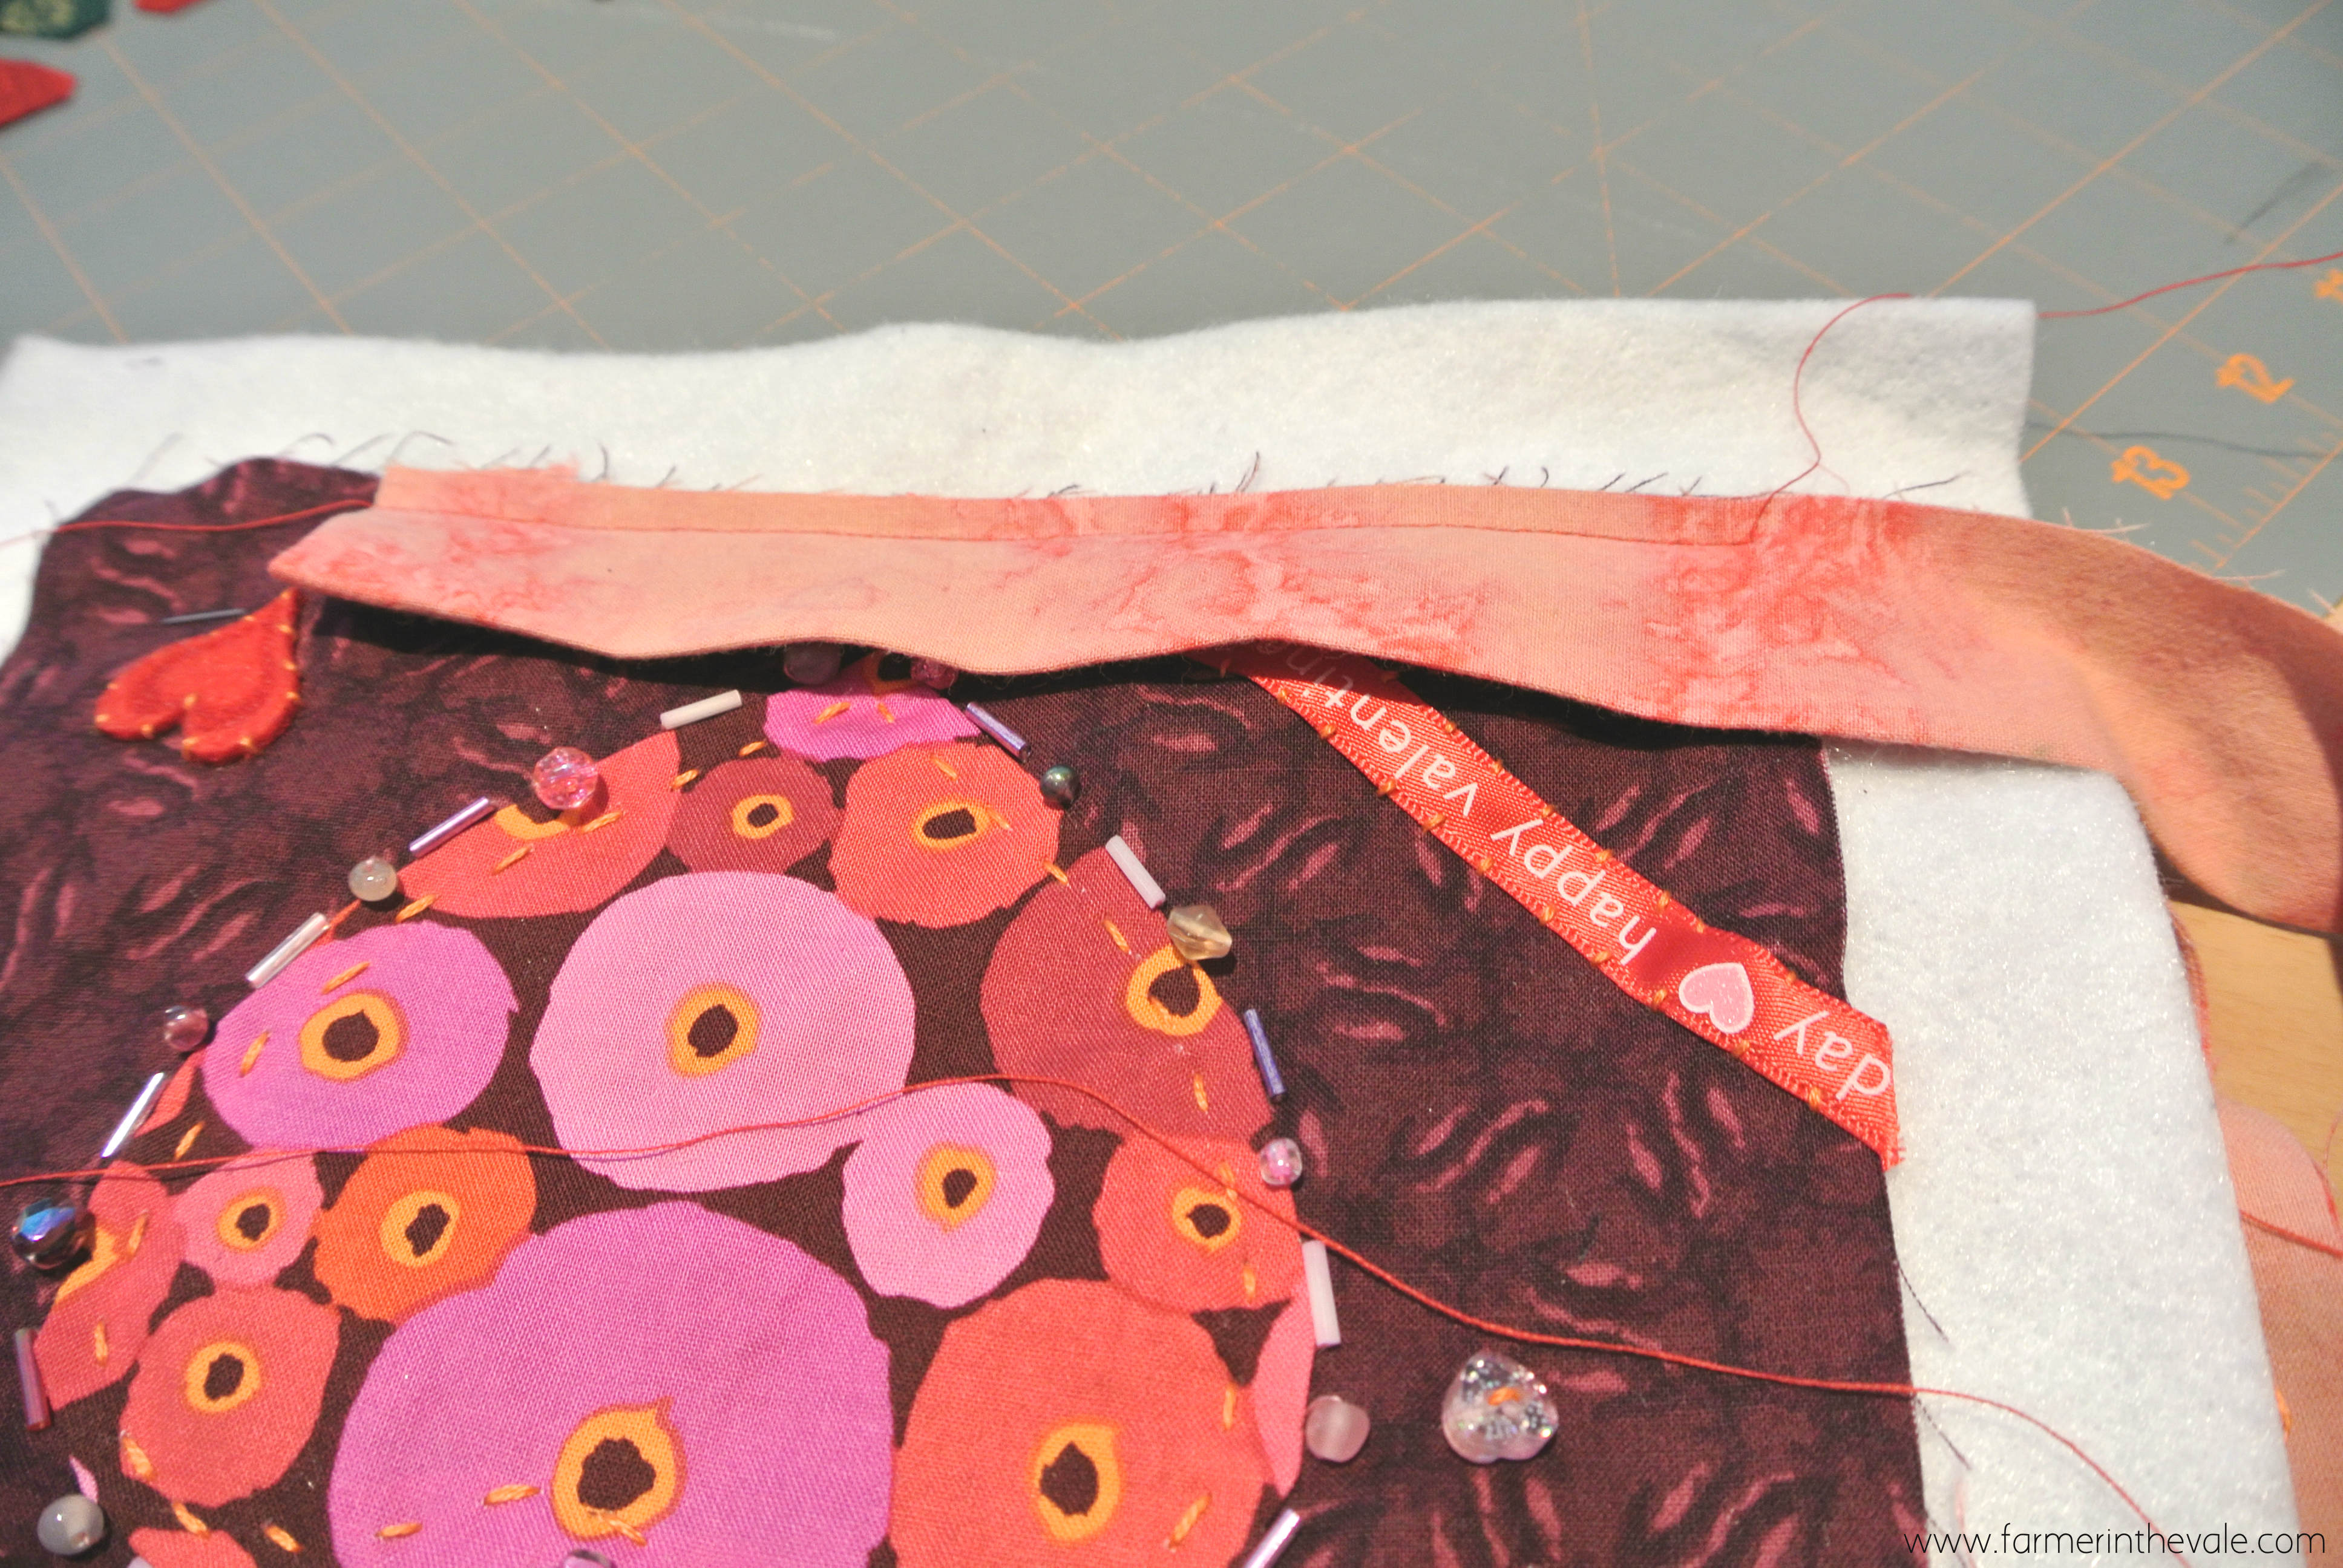
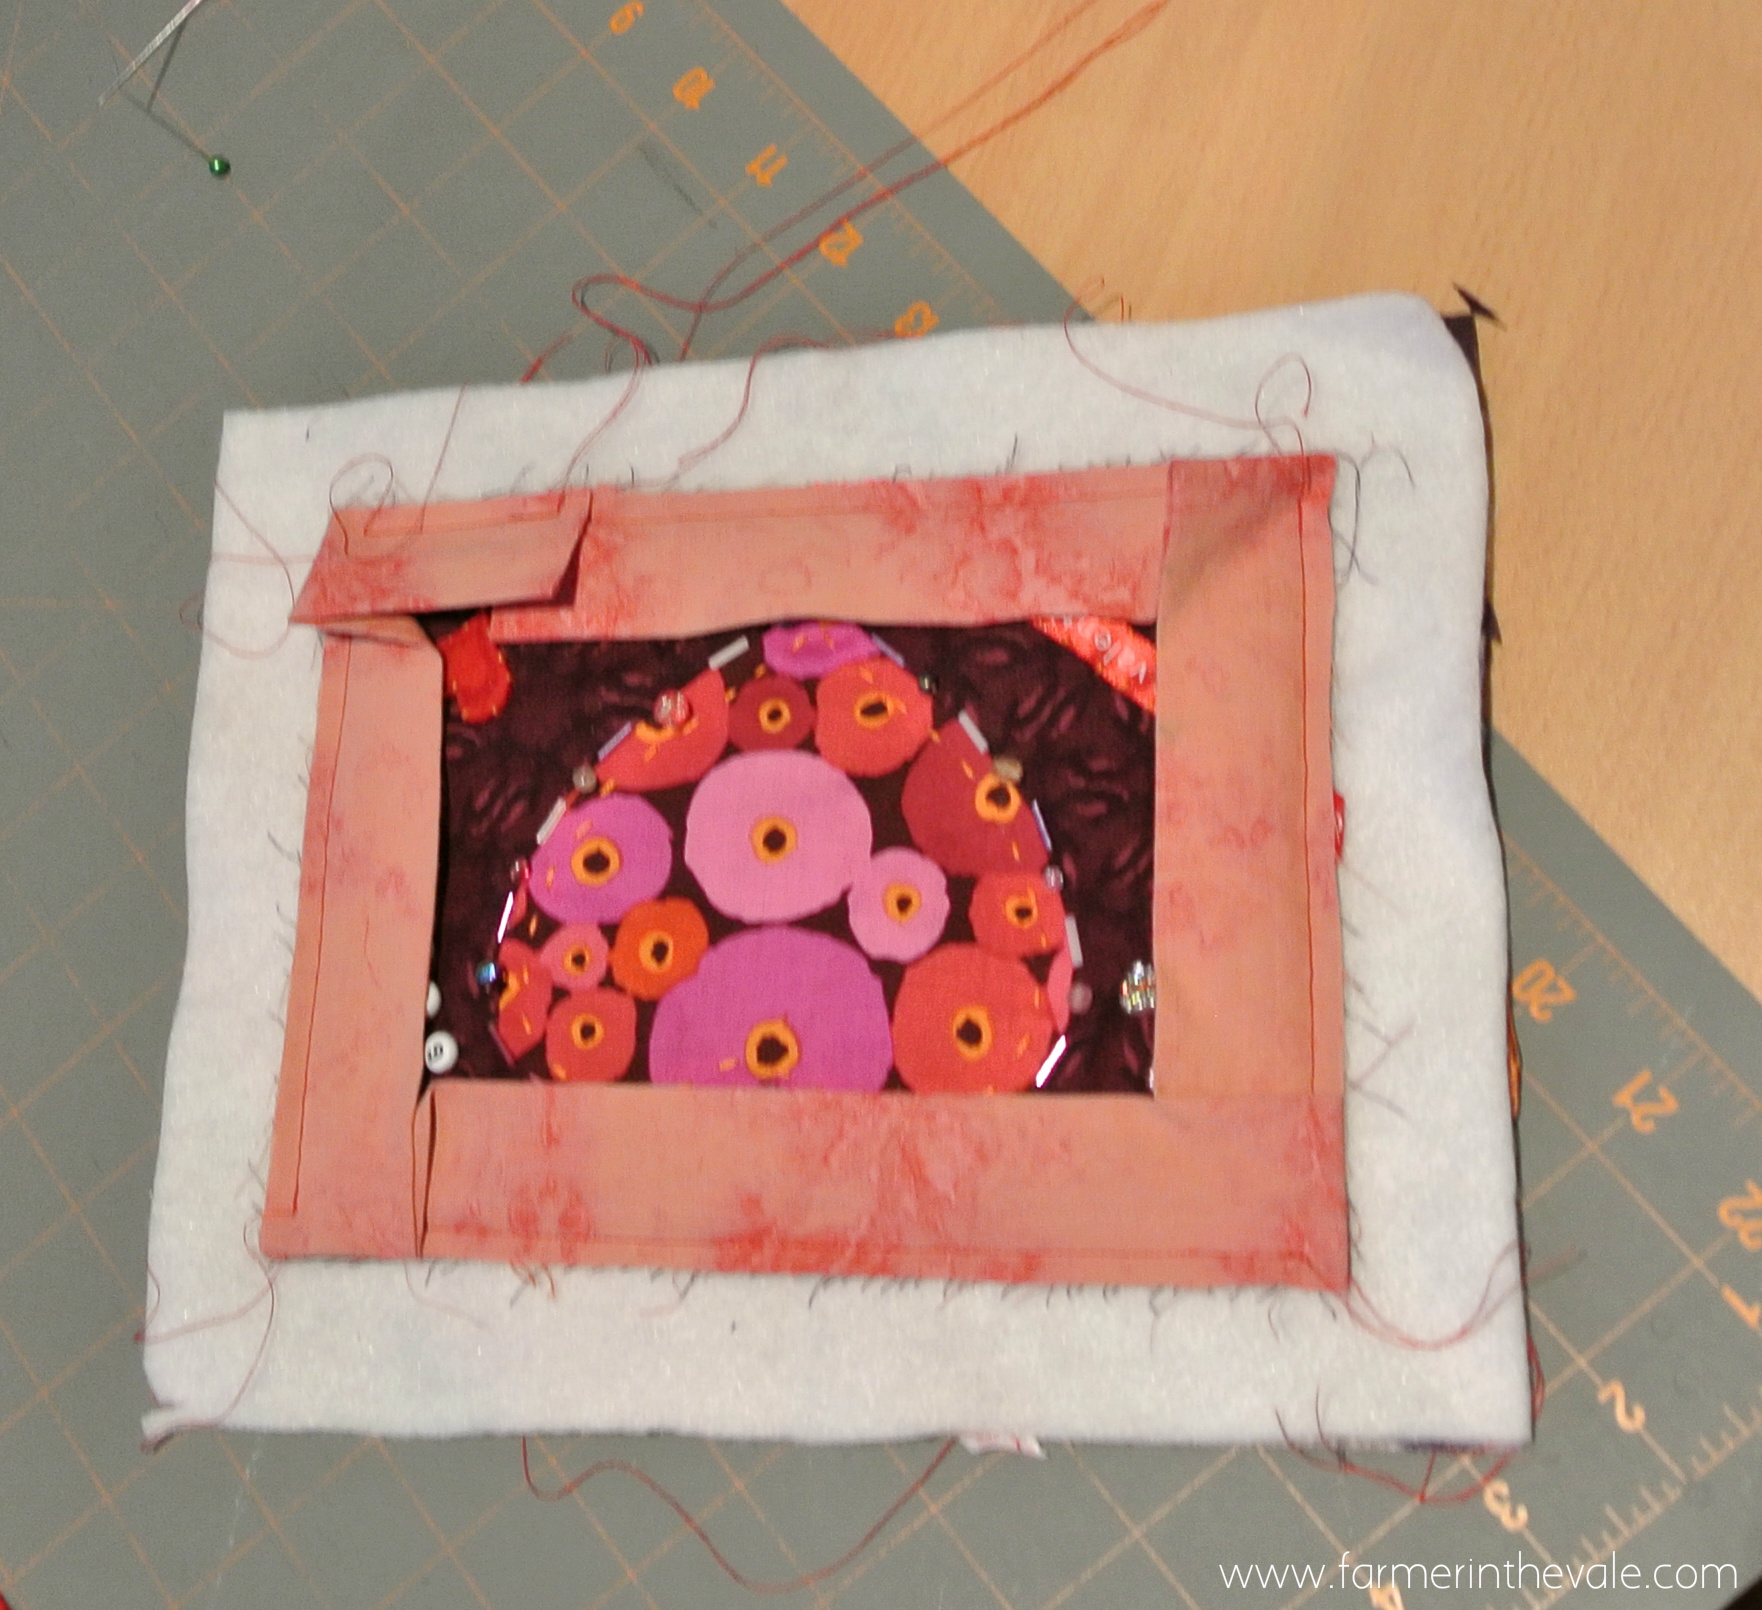
Start forming your corner by folding up the binding at a 45 degree angle. See the photo below.

Now fold the binding down so the rough edge once again matches up with the rough edge of the quilt top. Pin the folded area into place.
Start sewing the next edge beginning 1/4″ down from the top edge. You don’t want to sew the folded area. Instead you want to sew just below the bulky fold that extends in from the corner. Stop when you approach the next corner and repeat the corner folding steps above.
Repeat for all 4 edges and corners. When you get back to your starting point, overlap the end of your strip over the starting point by about 1/2″ to 3/4″. Trim away the remaining strip.
Trim away all of the excess batting and backing leaving 1/4″ of material outside of the seams you just sewed. Trim all loose threads.

Almost done! Now just roll the binding over the rough edges and sew to the backing with an invisible stitch.
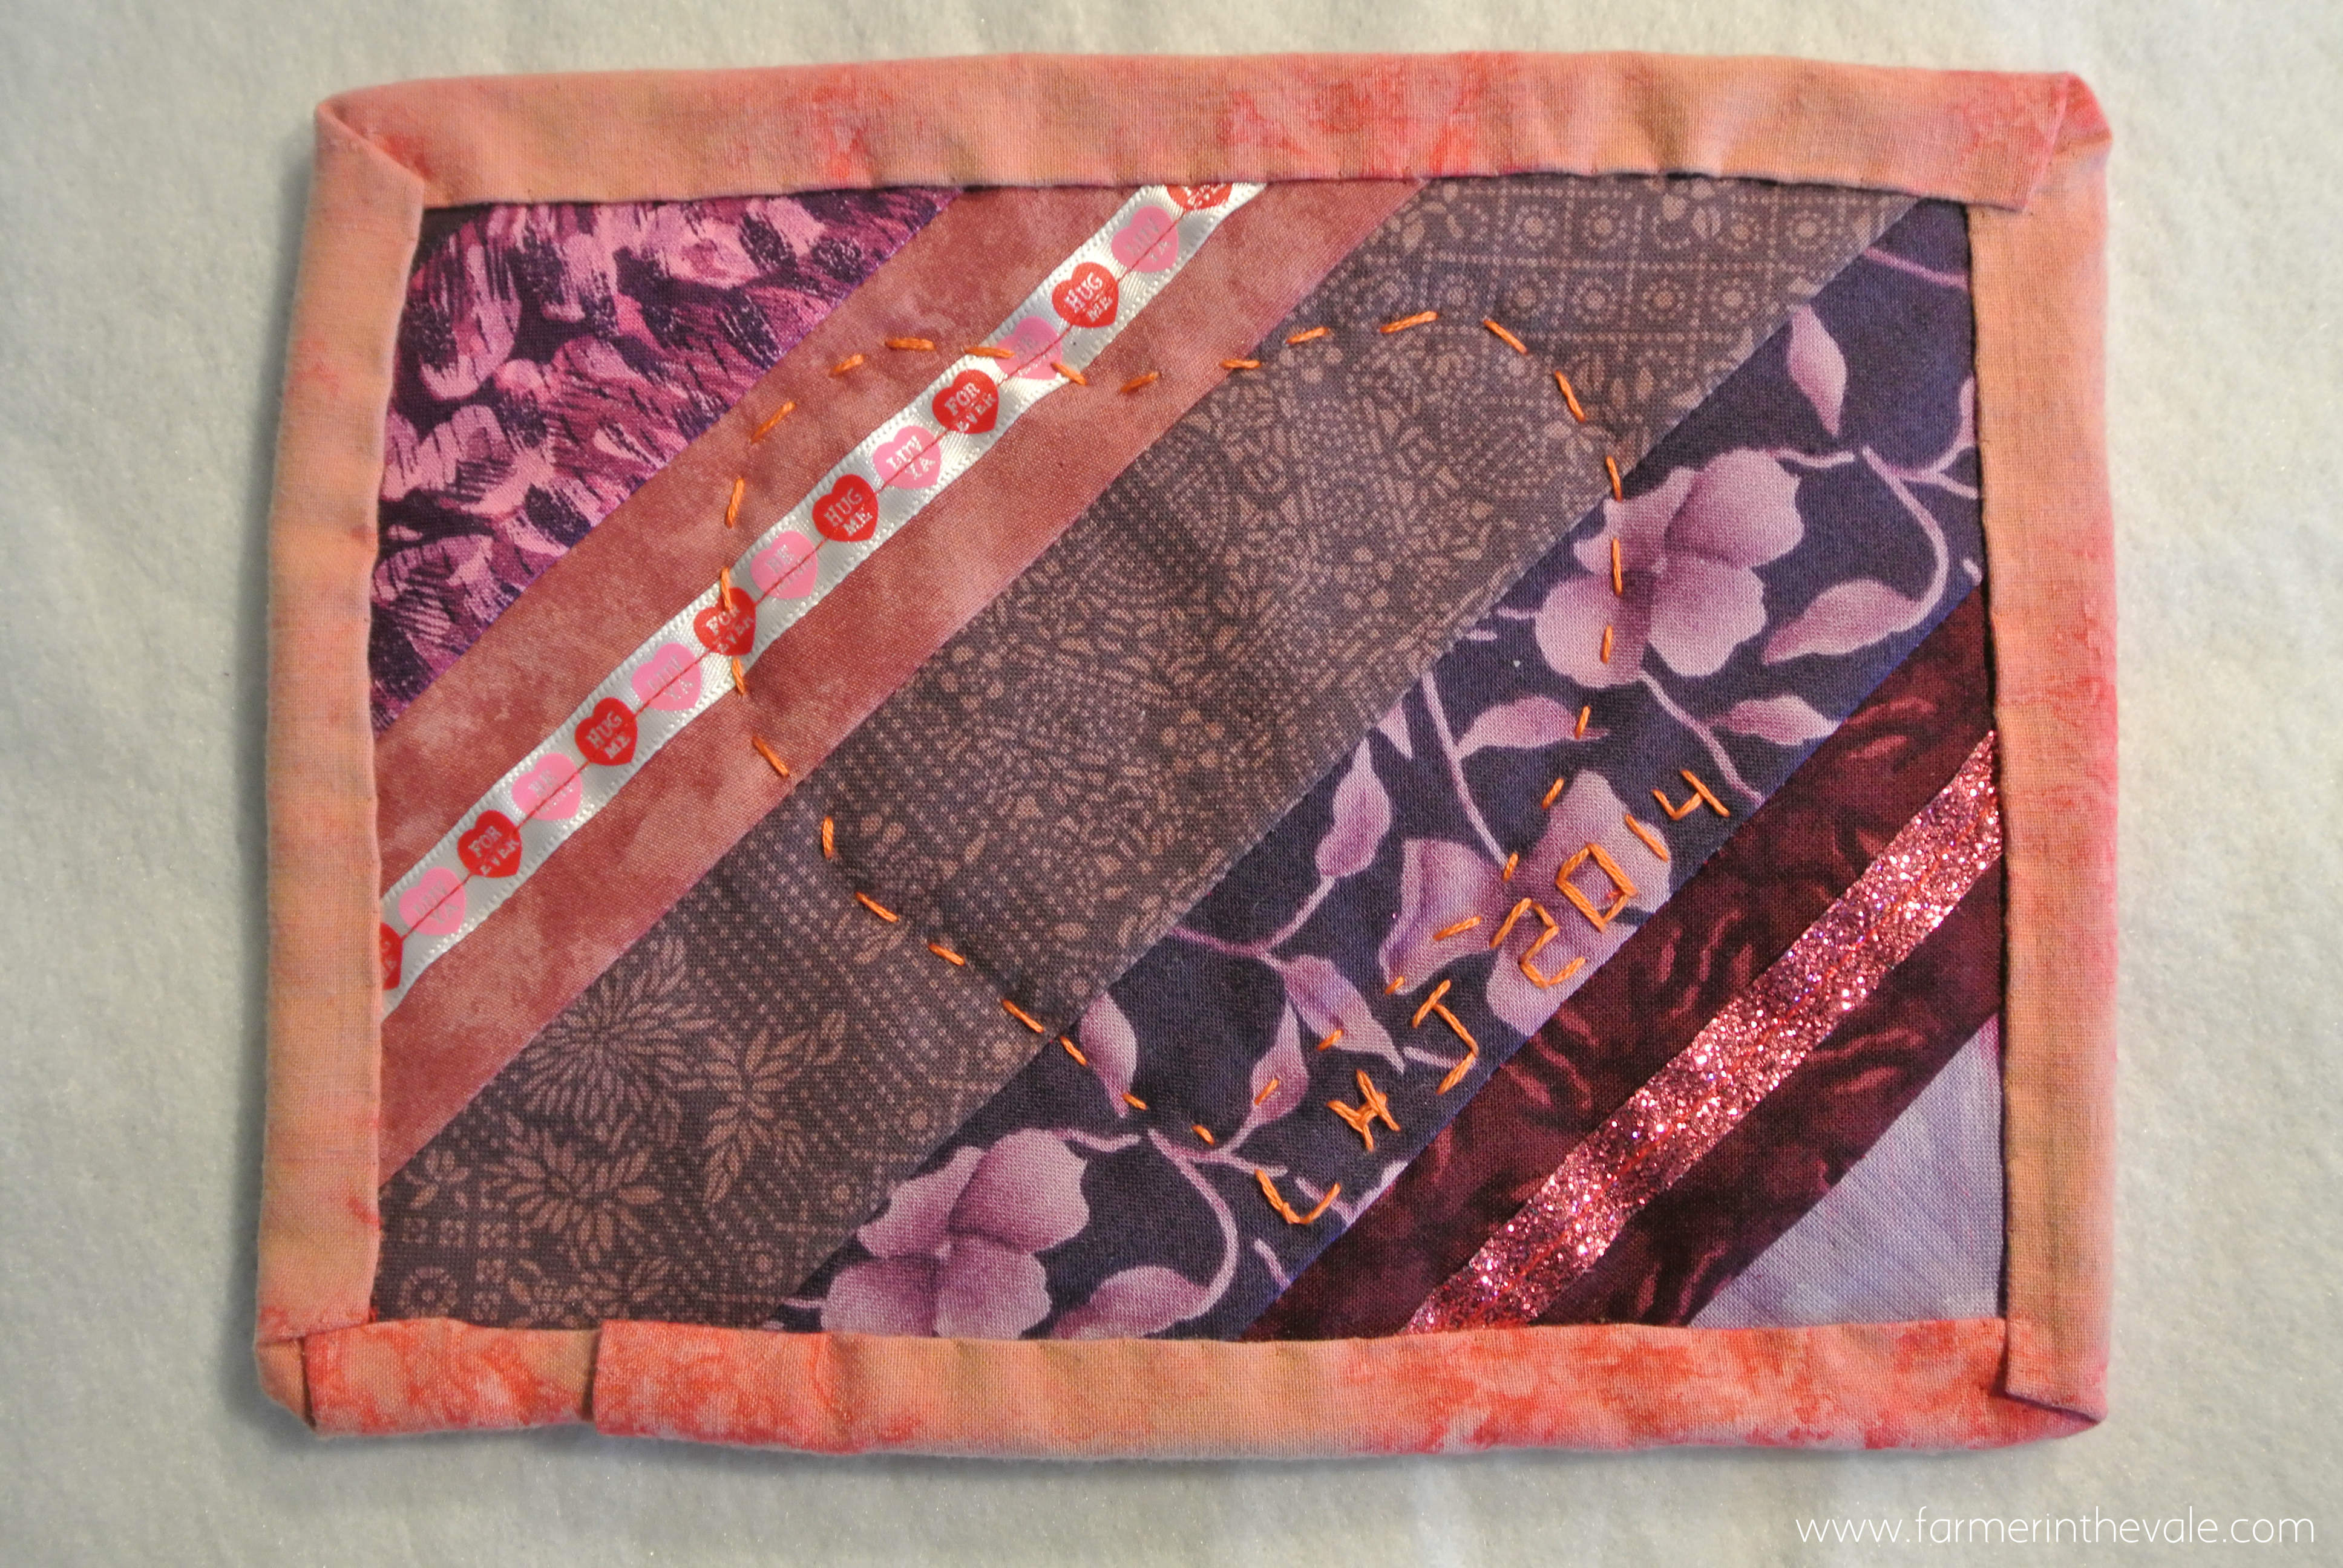
Voila! Easy! OK, easyish!

One thought on “Finishing a Quilt – The Binding”
Comments are closed.